


How to Prepare Your Garage Floor for Tile Installation
How to Prepare Your Garage Floor for Tile Installation
Interlocking garage floor tiles are forgiving, but they are not magic. The hour or two you spend preparing the space before the first panel goes down is what separates a floor that still looks right in five years from one that has a hump in the middle, a row that will not close, and grit permanently trapped underneath.
None of the preparation is difficult. It is mostly a matter of doing the steps in the right order — and finishing them before you open the first box.
Why Preparation Decides How the Floor Turns Out
A tiled floor is a layer of panels resting on whatever is beneath them. Any debris, ridge or greasy patch transfers straight through as a soft spot, a rock or a section that refuses to sit flat. Because the panels are joined to each other, a local problem spreads: one raised tile lifts its neighbours, and the seam gaps propagate across the floor.
Preparation also fixes the things that cannot be corrected later — the direction of the rows, where the cut edges land, and whether water still drains out of the garage.
Step 1: Empty the Space Completely
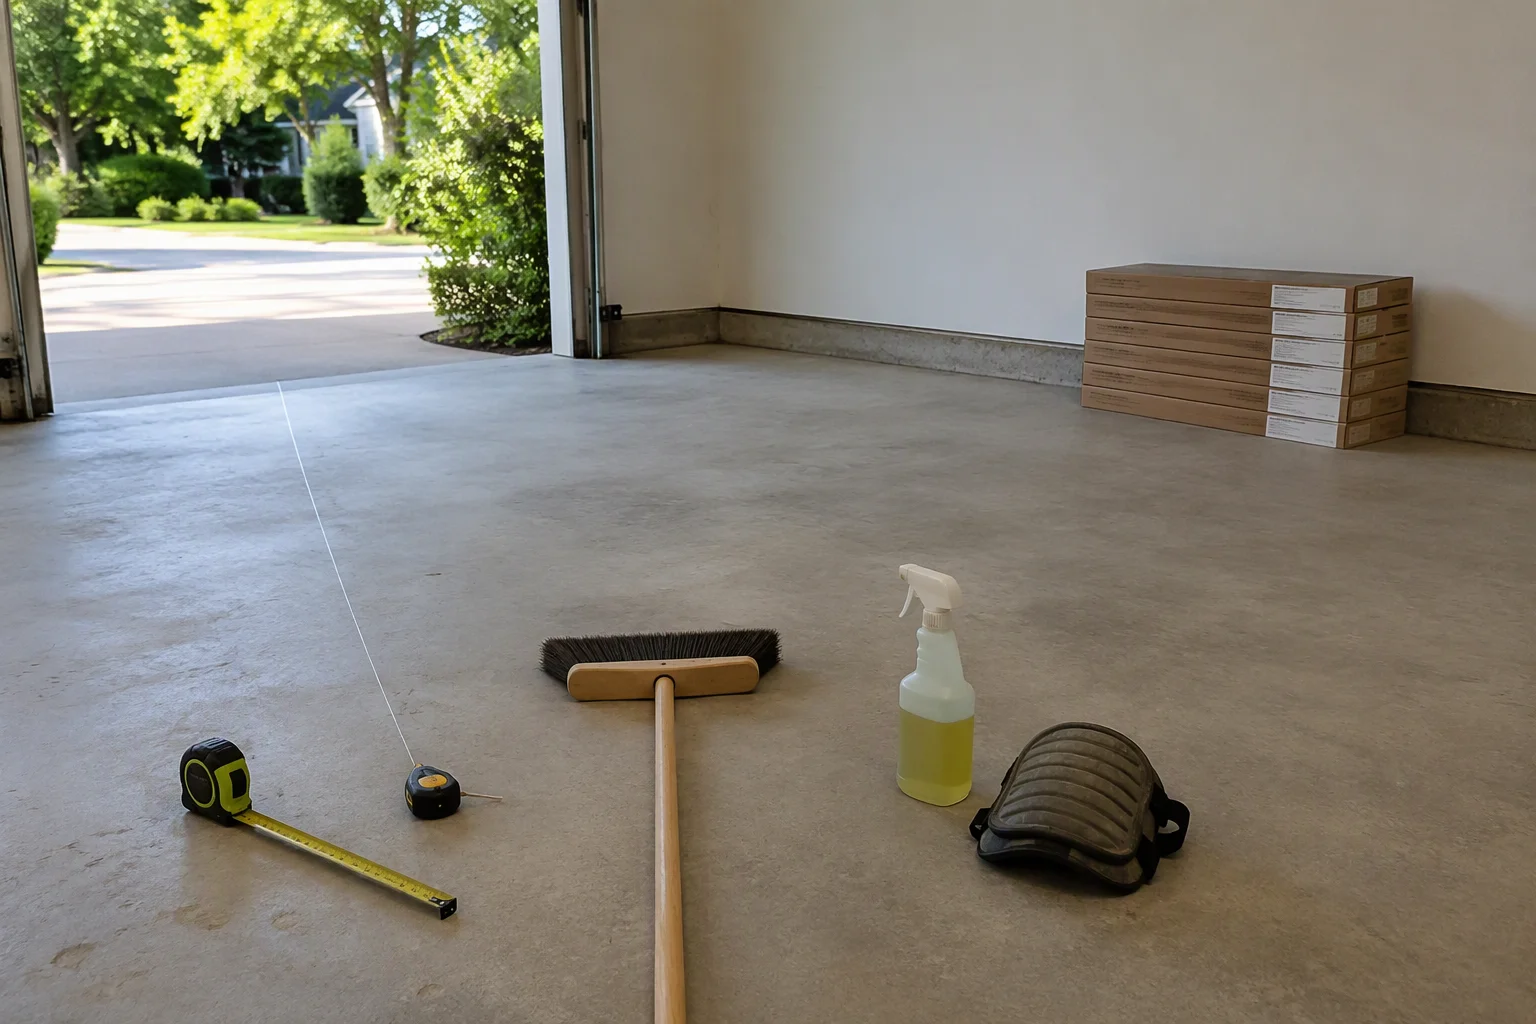
Everything comes out: the car, the shelving, the bikes, the paint tins, the pile of things that live in the corner. This is not just about access. You need to see the whole slab at once — including the corners you have not looked at in years — and you need room to work along every wall.
It is worth photographing the empty floor before you start. Date-stamped pictures of the slab are useful for spotting long-term changes later, and they are essential if the garage is rented.
Step 2: Clean and Degrease the Slab
Sweep and Scrape First
Start with a stiff broom and a scraper. Remove loose grit, dried leaves, and anything stuck down — old tape, dried adhesive, blobs of plaster, hardened mud. Grit is the enemy here: a single piece of gravel trapped under a panel creates a permanent high point, and it will grind against the tile every time the car rolls over it.
Degrease Properly
Oil and grease do not affect how tiles connect, but they do matter for cleanliness, for the smell in a warm garage, and for any future decision to coat the slab instead. Apply a degreaser to the stained areas, give it the dwell time the label specifies, agitate with a stiff brush and mop it up rather than letting it dry back into the concrete.
If the floor is heavily soiled, this is also the moment to consider a deeper clean — our guide to pressure washing a garage floor safely covers when a pressure washer helps and when it is overkill.
Let It Dry Completely
Tiles laid on a wet slab trap the moisture underneath them, where it has nowhere to go. Wait until the surface is genuinely dry to the touch across the whole floor, not just at the doorway where the air moves best. Damp patches in the middle of a slab take far longer to dry than the edges.
Step 3: Check the Slab Before You Commit
Flatness and Cracks
Walk the floor looking for high spots, hollows and cracking. Interlocking tiles bridge minor unevenness without trouble, and small cracks are usually not a problem — but a slab that is out of level by more than a few millimetres across a short distance will show through as a soft, springy patch. Our FAQ on garage floor tiles over uneven concrete explains what a tired slab can and cannot tolerate.
Damp and Drainage
Note any dark patches, white salt staining or areas that never seem to dry. These are worth identifying before you cover them up. Equally important, work out how the floor drains: most garages slope gently toward the door, and that fall has to keep working once the tiles are down.
Step 4: Measure, Then Plan the Layout
Before any tile goes down, take the measurements that decide the layout. Doing this on paper costs ten minutes and prevents the most common source of frustration: a narrow sliver of tile along one wall that has to be cut to nothing.
| What to measure | Why it matters |
|---|---|
| Width and depth of the garage at floor level | Gives the total tile count and reveals how the last row will land |
| The two diagonals corner to corner | If they differ noticeably, the garage is not square and rows will drift |
| Door openings and the gap beneath them | Tile height has to clear the door sweep |
| Positions of posts, steps and inspection covers | These become cut pieces and need planning, not improvisation |
| Drain position and the direction of fall | Water has to keep reaching the drain |
Tile dimensions and how they interact with the room are covered in more detail in our guide to garage floor tile sizes.
Step 5: Choose the Starting Corner
Pick the corner that is most visible from the doorway — usually the one diagonally opposite the main entrance — and start there. Working away from that corner pushes any awkward cuts toward the walls and the back of the garage, where they are least noticeable.
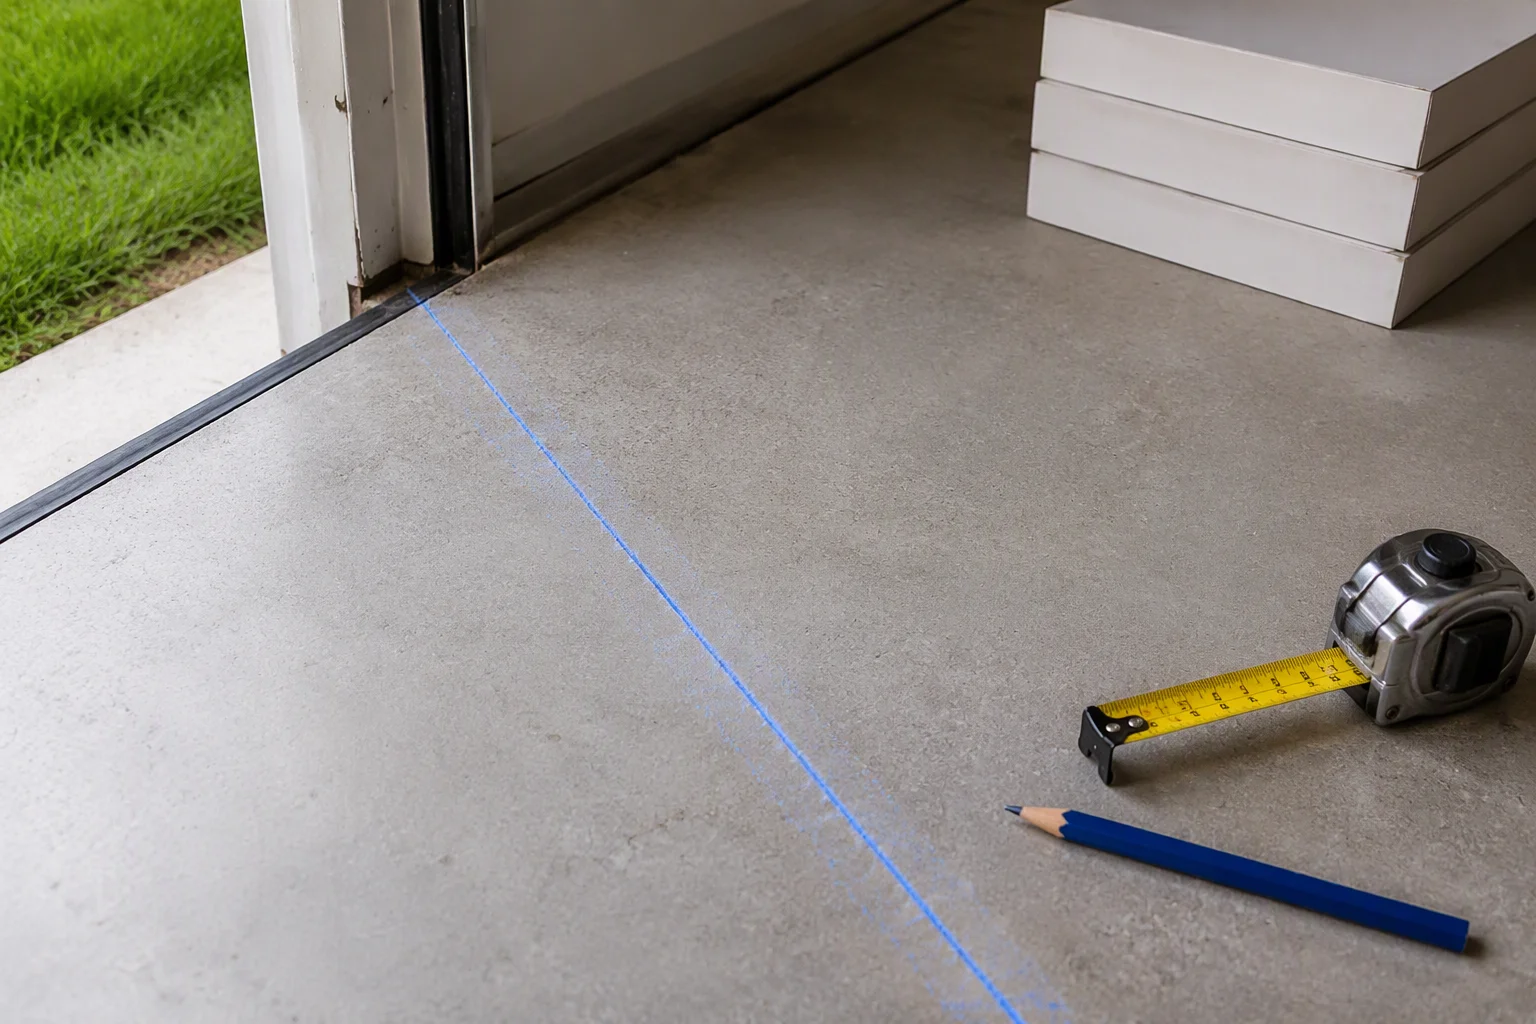
Snap a chalk line along the intended direction of the first row. A visible reference line is far more reliable than following the wall, because walls are rarely straight and a drift of a few millimetres compounds badly over a full run of tiles. Obstructions such as posts and steps are handled with the techniques in our installation guide for laying tiles around obstacles.
Step 6: Stage Everything Before You Start
Gather the full toolkit at the starting corner so you are not walking to the other end of the garage every few minutes:
- Boxes of tiles, opened and within reach — plus a spare box set aside untouched
- A rubber mallet and a tapping block for closing connectors
- A straight edge and a sharp utility knife, or the manufacturer's recommended cutter
- A tape measure, pencil and the chalk line you snapped
- Knee pads and gloves — this is an afternoon of kneeling on concrete
- Edge trim for the walls and the door threshold
- A broom to hand, for grit that appears while you work
It also helps to know what tends to go wrong at this stage. Our roundup of garage floor tile installation mistakes covers the five errors that cause most of the problems, all of which are easier to avoid than to fix.
Step 7: Let New Tiles Settle
If the tiles have been sitting in a cold garage or a van overnight, give them a chance to reach room temperature before installation. Cold plastic is stiffer and connector tabs are less willing to flex, which makes every joint harder to close. A few hours indoors, or simply letting the boxes stand in the garage, is enough.
- Move the boxes into the garage the day before, if possible
- Leave them closed and flat rather than propped on an edge
- Avoid installing straight out of a freezing van on a cold morning
- If you must work in the cold, expect joints to need firmer seating — our guide to installing garage floor tiles in cold weather covers the adjustments
A Pre-Install Day Checklist
- Garage completely emptied, including the corners
- Slab swept, scraped and degreased
- Surface dry across the whole floor
- Cracks, hollows and damp patches noted and photographed
- Measurements, diagonals and drain direction recorded
- Layout and starting corner decided, chalk line snapped
- Tiles and edge trim on site, plus one spare box
- Tools staged at the starting corner
- Tiles at room temperature
The Bottom Line
Preparation is the part of a garage floor project that nobody enjoys and everybody benefits from. Empty the space, clean the slab properly, understand what you are laying on, measure before you cut, and stage your tools so the work itself is uninterrupted.
Do that, and the installation is genuinely a weekend job. Skip it, and you will spend the next few years looking at a ridge in the middle of the floor and wondering where it came from. If you are still matching tiles to the space, start from the arlott.cn garage floor tile range.


