


Can You Pressure Wash Garage Floor Tiles? A Safe Guide
Can You Pressure Wash Garage Floor Tiles? A Safe Guide
Few garage floors face more grime than a tiled one: tyre marks, dried salt, oil film, sawdust, mud from a winter of tracked-in grit. When the surface gets bad enough, the pressure washer in the corner starts to look like the obvious answer — and it usually is, provided you adjust three settings first.
Get those wrong and you can lift edge tiles, drive water where it should not go, and permanently mark a surface that would otherwise have lasted a decade.
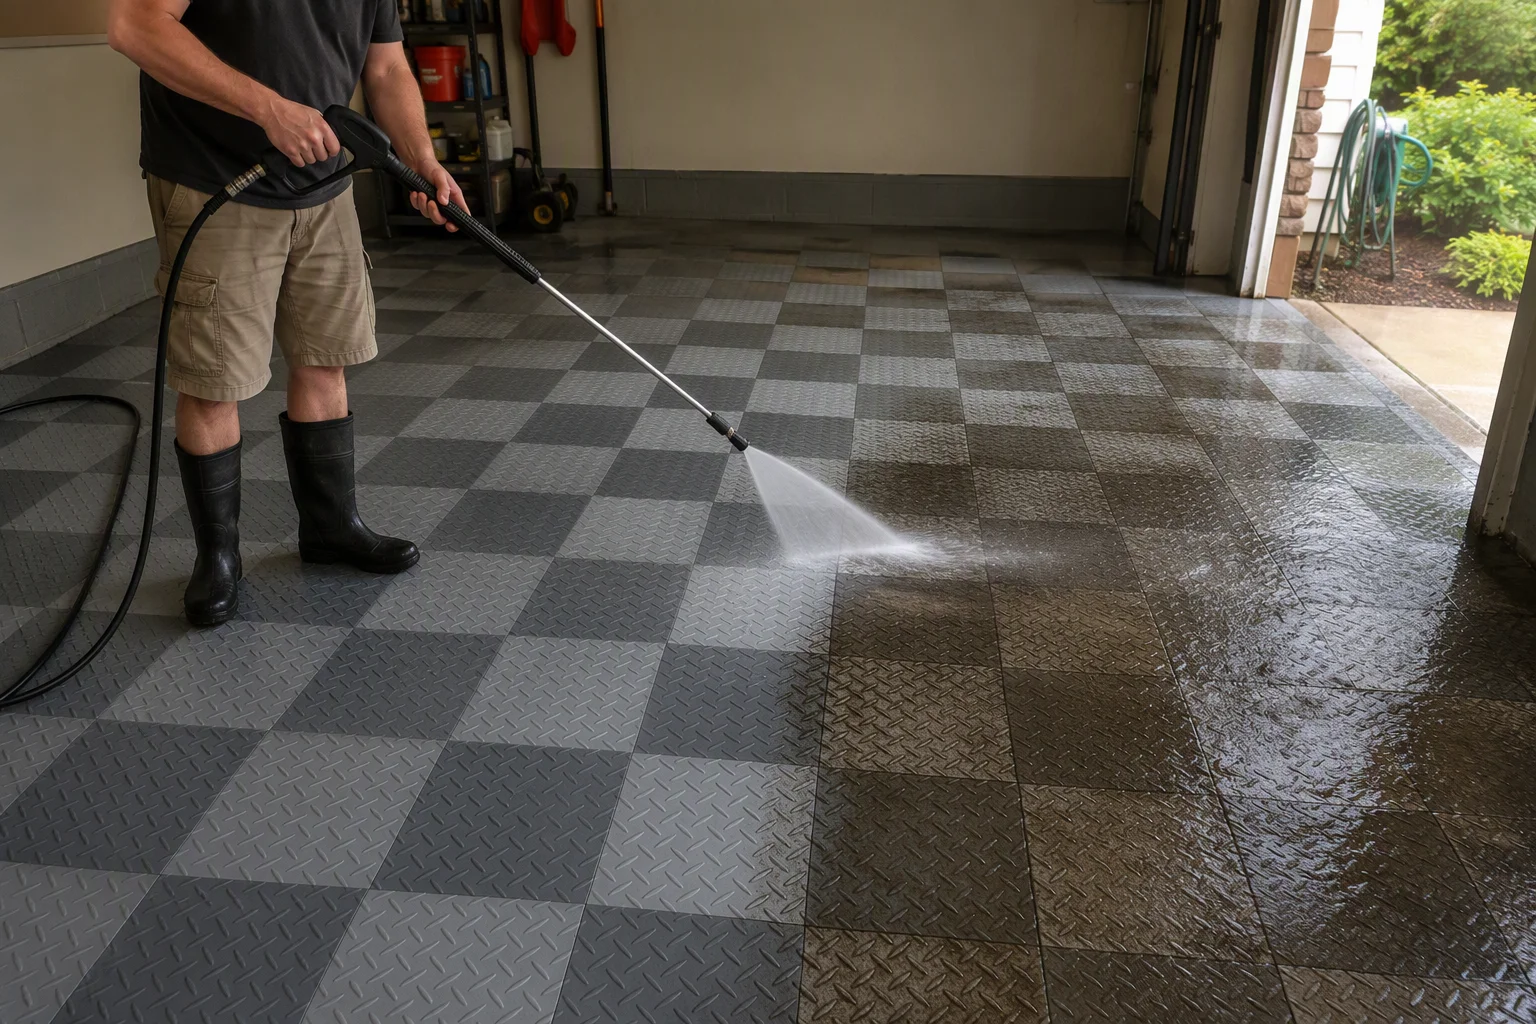
The Short Answer
Yes, interlocking polypropylene garage floor tiles can be pressure washed. The material is waterproof, chemically inert and mechanically tough, so water under pressure does not damage it the way it damages wood, grout or an ageing concrete coating.
The risk is not the tile — it is the assembly. A pressure washer aimed carelessly can:
- Lift or unseat edge tiles by getting under a loose corner
- Force grit-laden water into the seams, where it acts as an abrasive
- Drive water sideways under the perimeter, leaving the slab wet for days
- Scar the surface if the nozzle is held too close with a narrow jet
All four are avoidable with the right setup.
Why Pressure Washing Works Well on Interlocking Tiles
- No porous surface. Unlike concrete, a plastic tile does not absorb water or hold salt inside it — the dirt sits on top.
- Open seams drain. Water runs through the joints and out again instead of pooling.
- Nothing to strip. There is no sealant, coating or finish layer that pressure washing can remove.
- Textured surfaces respond well. A fan spray lifts dried salt and packed grit out of the raised pattern far faster than scrubbing.
This is why a tiled floor is generally the easiest hard floor in the house to bring back to new.
The Safe Settings
| Setting | Recommended | Why |
|---|---|---|
| Pressure | Around 1,200–1,500 PSI | Enough to lift grime, gentle on connectors |
| Nozzle | 25° or 40° fan | Spreads force; never use a 0° pencil jet |
| Distance | 20–30 cm from the surface | Close enough to clean, far enough to stay safe |
| Angle | 30–45° from the surface, sweeping | Pushes water along the floor, not into the seams |
| Direction | Toward the garage door | Drives water to the exit, not toward the walls |
If your washer has an adjustable unloader, turn it down. If it only has one setting, increase the distance and use the widest nozzle — distance is the most effective pressure control you have.
Step-by-Step
- Clear the floor. Move everything out, including mats, shelving and the boot tray. Loose items become projectiles.
- Sweep or blow first. Dry grit is the main abrasive risk. Remove it before water turns it into a grinding slurry.
- Pre-treat problem areas. Tyre tracks, oil and rust need a chemical head start rather than more pressure — see our stain removal guide.
- Work in sections. Clean a metre-wide band at a time in a steady sweeping motion, then move on.
- Keep the wand moving. Never hold the jet on one spot, even at a safe distance.
- Rinse toward the door. Finish each section by pushing the dirty water out rather than letting it sit.
- Squeegee and dry. A floor squeegee moves the bulk of the water out; air drying finishes the job.
What Not to Do
- Do not use a 0° pencil jet. Concentrated pressure is what damages plastic surfaces and lifts tiles.
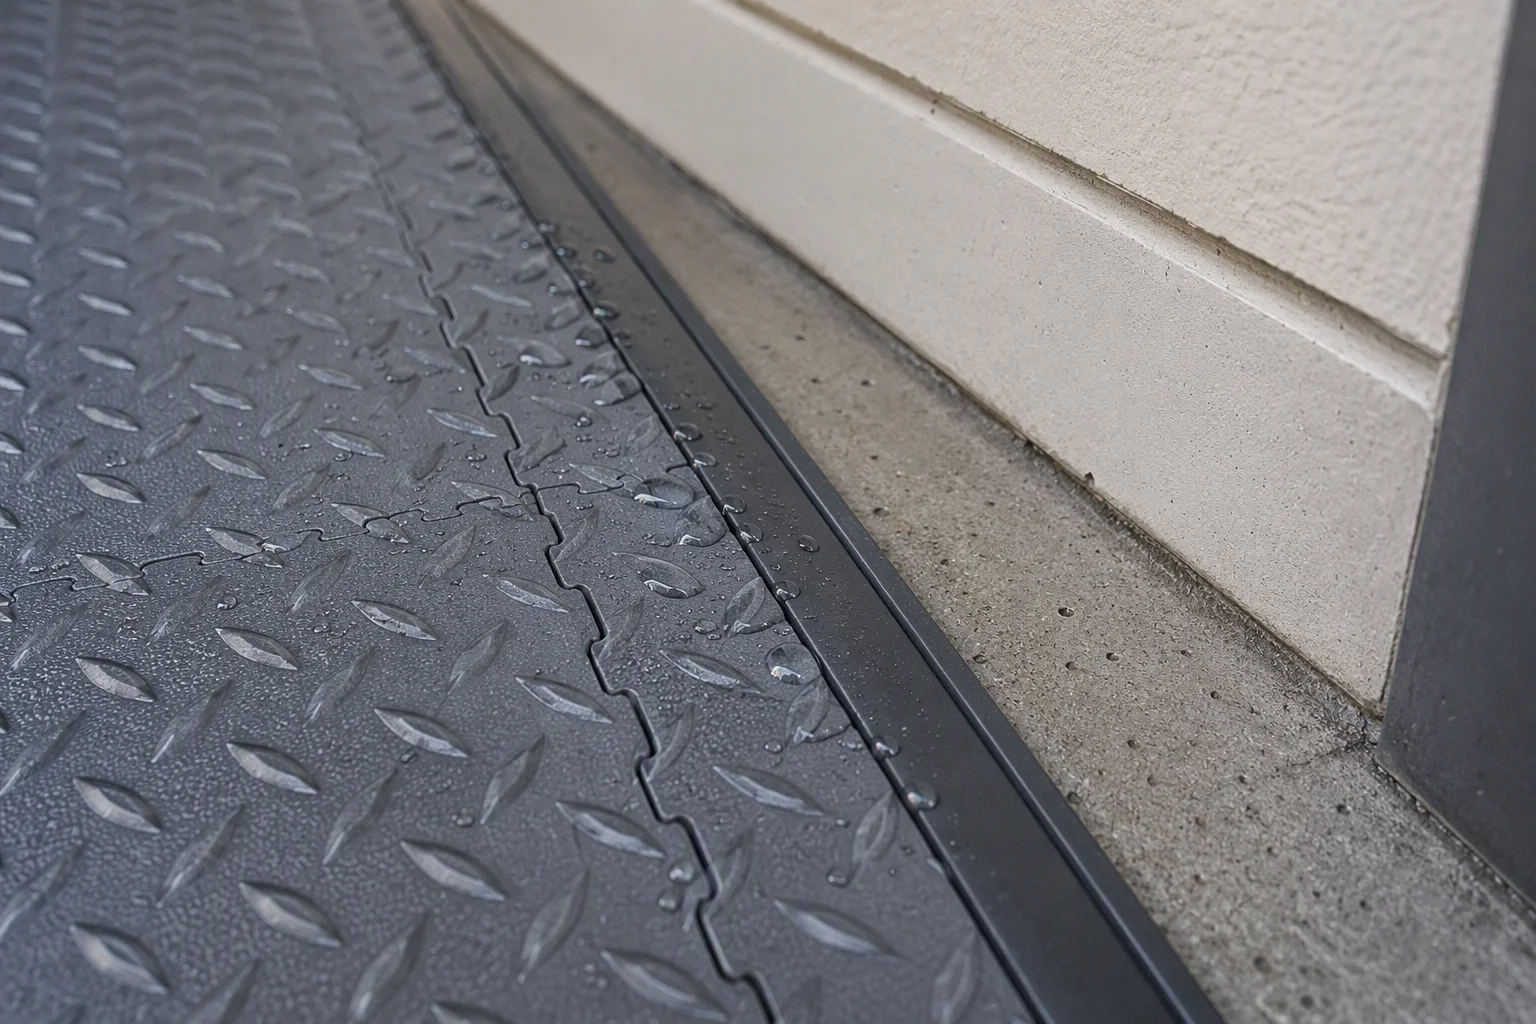
- Do not aim at the perimeter. Water driven sideways under the edge has nowhere to drain. Finish the field first and treat the borders with a hose.
- Do not blast the seams point-blank. Angled across the surface cleans them; aimed directly down into them drives grit deeper.
- Do not pressure wash a thin, light-duty tile. Lower-grade panels flex under concentrated force. Our thickness guide explains which grades suit this kind of treatment.
- Do not wash a damaged or already-lifted tile. Fix it first — our guide to replacing a damaged tile takes about ten minutes.
- Do not use the washer on a freezing day. Water that refreezes in the seams and on a sloped apron is a slip hazard and stresses the connectors.
Cleaning Agents: What to Add to the Water
Pressure alone handles salt, grit and general dirt. For anything greasy, add chemistry — not force.
- Neutral pH cleaner: the safe default for whole-floor washing, and the best choice for routine deep cleans.
- Degreaser: for tyre marks and oil lanes. Apply, let it dwell, then rinse.
- Mild detergent: fine for road film and general grime.
- Avoid: aggressive solvents, brake cleaner, strong acids and chlorine bleach at high concentration. Polypropylene tolerates a lot, but concentrated solvents can dull the surface and bleach can leave a permanently chalky patch.
Whatever you use, keep runoff out of storm drains where local rules require it, and rinse thoroughly so no residue dries on the surface.
Drying and Preventing Water Under the Tiles
The lift-and-drain design of interlocking tiles means water that gets under the floor keeps moving rather than sitting trapped. Still, a few habits keep drying fast:
- Squeegee before you walk away. Removing standing water halves the drying time.
- Leave the garage door open. Airflow along the floor does most of the work.
- Run a fan or dehumidifier in a closed or unventilated garage.
- Check the perimeter afterward. If water is still sitting in the expansion gap at the wall, sponge it out — that is the one place it lingers.
- Lift one tile if you are unsure. On a proper installation, a single panel pulls up easily to confirm the slab underneath is draining, then clicks straight back in. The same technique is described in our guide to working around posts, steps and drains.
When to Skip the Pressure Washer
Some jobs do not need it, and a few are better served by other tools:
- Light maintenance: a hose and a broom are faster than setting up the washer.
- Salt residue after a storm: plain water dilution is enough, as covered in our guide to winter salt and ice protection.
- Small entry or mudroom zones: the approach in our garage entry guide is a rinse, not a blast.
- Any floor with loose edge tiles: reseat or replace them first.
FAQ
What PSI is safe for garage floor tiles?
Around 1,200–1,500 PSI with a 25° or 40° fan nozzle, held 20–30 cm from the surface and swept at an angle. Higher pressure is not faster — it is just riskier.
Will pressure washing void a tile warranty?
Check the specific product terms. Well-made interlocking tiles are generally fine with sensible pressure washing, but warranty wording varies between manufacturers and grades.
Can I use a pressure washer on the seams?
Sweeping across them at an angle is fine and effective. Aiming a narrow jet straight down into a seam is not — it forces grit and water where they are harder to flush out.
How often should I pressure wash a garage floor?
Once or twice a year suits most garages: a deep clean before winter salt season and another in spring. In between, sweeping and the occasional rinse handle it.
The Bottom Line
Yes — pressure washing is one of the best ways to bring interlocking garage floor tiles back to new. Dial the pressure to 1,200–1,500 PSI, fit a 25° or 40° nozzle, stand 20–30 cm back, sweep at an angle toward the door, and pre-treat grease with chemistry instead of force. Do that and the floor comes up clean without a single lifted edge tile.
Planning a deep clean before winter? Tell us your floor area and grade and we will recommend the right cleaning approach: browse garage floor tiles.


