


Garage Floor Tile Patterns: Checkerboard Install Guide
Garage Floor Tile Patterns: Checkerboard Install Guide
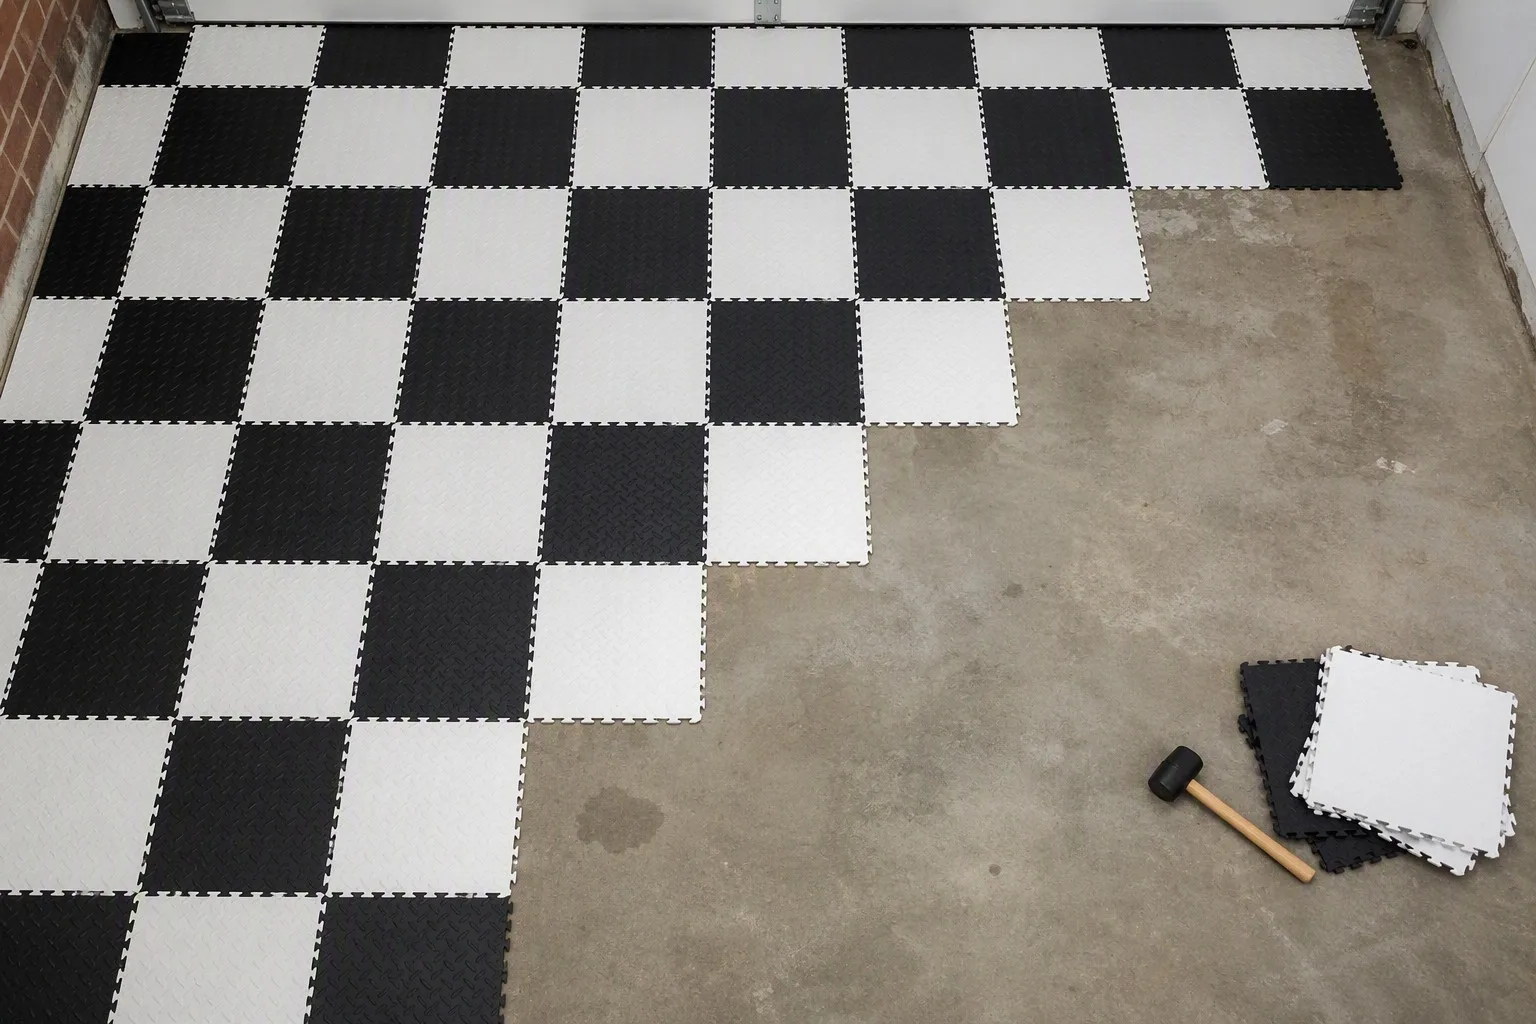
Plain tile floors are practical. Patterned tile floors get photographed. The checkerboard is the single most popular garage floor design on social media — and with interlocking garage floor tiles, it's not a painter's project that takes days. It's a weekend layout puzzle you click together.
Here's exactly how to install garage floor tiles in checkerboard, stripe, and border patterns — including planning, cutting, and the pro tricks that make it look factory-designed.
Why Install Tiles in a Pattern?
- Visual impact — a pattern turns the garage from utility space into a design feature, instantly raising the perceived value of the room
- Zone definition — patterns naturally separate the car bay from the workshop or gym areas
- Resale appeal — a finished, patterned floor is a talking point buyers remember
- It's reversible — tiles lift and re-lay, so your pattern can evolve as your garage does
The best part? Because interlocking tiles need no adhesive, a pattern is pure planning — the installation itself is the same click-together process as a single-color floor.
Before You Start — What You'll Need
- Garage floor tiles in 2-3 colors (see our color and thickness guide)
- Rubber mallet for stubborn joints
- Utility knife or tile cutter for edge tiles
- Tape measure and chalk line
- 10% extra tiles for cuts, plus spares — use our tile calculator
Step 1: Measure and Plan the Layout
Patterns fail when you start at a wall. Always start from the center:
- Measure the floor and snap chalk lines across the center both ways, dividing it into quarters
- Lay a dry row of two colors across both center lines to check how the pattern lands at the walls
- If the edge pieces would be slivers (under half a tile), shift the starting point by a few inches so edges get full-looking cuts
This 10-minute check is the difference between a pro finish and a floor that looks slightly off from every angle.
Step 2: Choose Your Color Scheme
Stick to two main colors plus one accent. Proven combinations:
- Classic — black and white, or charcoal and light gray
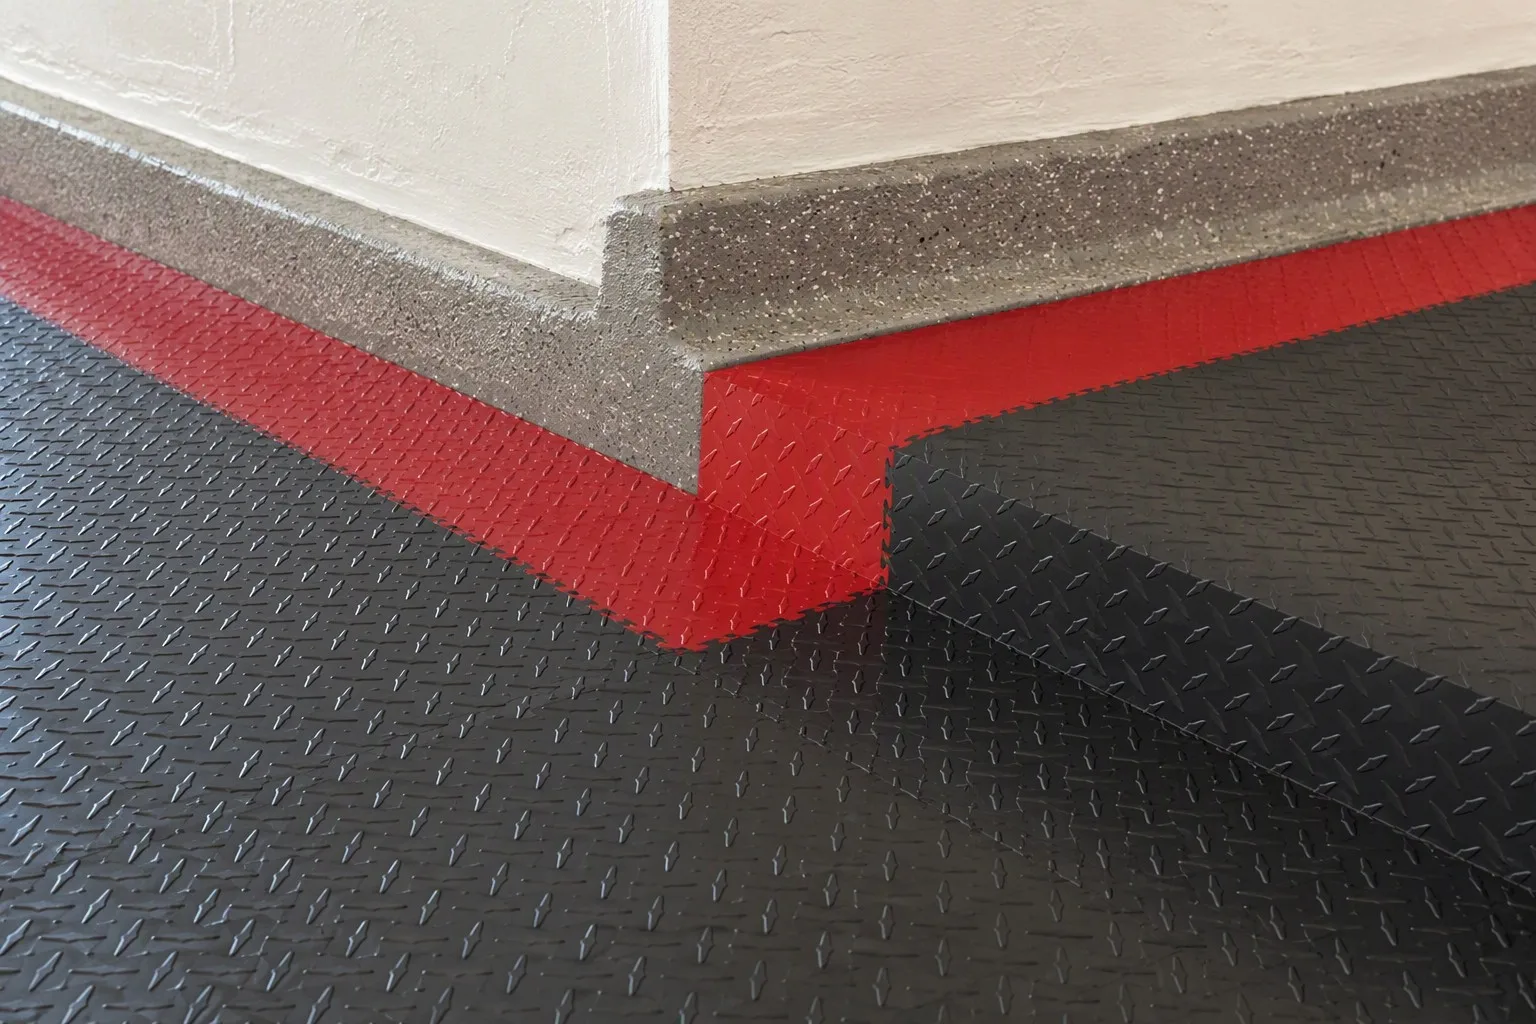
- Racing — charcoal field with red accent border
- Modern — graphite and white with a blue accent row
- Warm — gray field with a terracotta or beige border
Light colors brighten a dark garage; dark colors hide dirt in high-traffic zones. Pick the field color for function, the accent for style.
Step 3: Lay the Base Field
Starting at your center lines, lay tiles outward in the checkerboard sequence — dark, light, dark, light — row by row. Work one quarter at a time so the pattern stays square. Click each tile in with light pressure; use the rubber mallet only if a joint is tight. The interlocking connectors align the pattern automatically, so as long as your first two rows are straight, the rest follows.
Step 4: Add the Accent Border
A border row changes everything:
- Finish the main field first, leaving the outer rows for last
- Lay the accent color around the perimeter, two tiles deep for a bold frame
- For a racing look, run the accent only along the two long walls or around the car bay outline
The border visually contains the pattern and gives the floor a designed edge rather than a faded finish.
Step 5: Cut Edge Tiles to Fit
Walls are never square, so edge tiles need cutting:
- Score and snap — for straight cuts, score the tile face with a utility knife and snap over a straight edge
- Mark in place — lay the tile over the last full tile, run a pencil along the wall line, then cut
- Leave a gap — keep a small expansion gap at walls; trim or baseboard covers it
- Odd shapes — around pipes or posts, cut with a jigsaw at low speed or use a tile nibbler
See our weekend installation guide for the full tool-by-tool breakdown.
Popular Patterns to Try
- Checkerboard — alternate two colors tile by tile; the timeless classic
- Racing stripes — a light field with two parallel dark strips where the car parks
- Framed field — one color field with a contrasting 1-2 tile border
- Two-tone diagonal — lay a dividing line diagonally with each half in a different color
- Zone blocks — solid charcoal under the car, checkerboard in the gym area
For more design direction, our 2026 makeover trends article shows how homeowners are combining patterns with living-space zones.
FAQ
How many extra tiles should I buy for a pattern?
Buy 10-15% more than the square footage — patterns mean more cuts at borders and accents, so waste runs higher than a single-color install. Keep the offcuts; edge pieces can be re-cut for other spots.
Can I mix tile thicknesses in a pattern?
No — always use the same thickness for the whole floor. Different thicknesses create trip hazards and uneven joints. Mix colors, not sizes.
Do patterns cost more?
The tiles cost the same per square foot; patterns only add planning time. Ordering two or three colors from the same series keeps the price identical to a single-color floor.
The Bottom Line
A patterned garage floor looks like a professional installation — because it is one, done by you, in a weekend. Measure from the center, keep your palette to two colors plus an accent, and let the interlocking connectors keep the pattern honest.
Ready to design yours? Browse Arlott's garage floor tiles in 14 colors — mix any two or three for a custom pattern at no extra cost, with a 20-year warranty behind it.
